
Lines on your artwork, what Marker/Pen should you use?
Adding line work to your artwork is beautiful and very relaxing. But I know how difficult it can be to find the right tools. What pens should you use? Markers? Ink? Fineliners?
There are so many options out there. So what should you invest your money on?
I've tried many of these solutions, so you don't have to waste time and money on stuff that doesn't work.
This blog post isn't sponsored, I'm just going to give you my honest opinion, whether you're new to lines or an expert, I've put together few pros and cons for each of the solution I'll be discussing here below.
I'm going to keep this blog post short and to the point so you can really focus on the tools and test what's comfortable for you and your work.
UniPosca Markers
If you never created lines on your artwork, then this is what I really suggest as starting point.
UniPosca markers come in loads of colours and sizes, they're not aggressive on paper/canvas and you can find them basically everywhere.
The fact that you don't have to worry about anything else a part your own movement, will allow you to focus on the line quality, precision and specific direction for your lines, so you can develop and experiment with your style.
I suggest having 2 or 3 sizes so you can play with different line strokes.
Here you can find the links to the black UniPosca markers. You can also get bigger sizes, based the dimension of the artwork you're working on.
Thin - 0.7mm
Medium - 1.5mm
Big - 2.5mm
PROS
- Available almost everywhere in the world, and very affordable
- Plenty colours and sizes available
- Ready to use
- Little to no experience required
CONS
- Lines might need more than one layer to stand out from the background - especially if you are using white or light colours.
- Not the best for the environment as you have to throw away the pen once it dries up.
- Metallic colours aren't great - so if you are looking for a good gold and silver alternative, try these: Sakura - Pen-Touch Paint Marker Gold & Sakura - Pen-Touch Paint Marker Silver
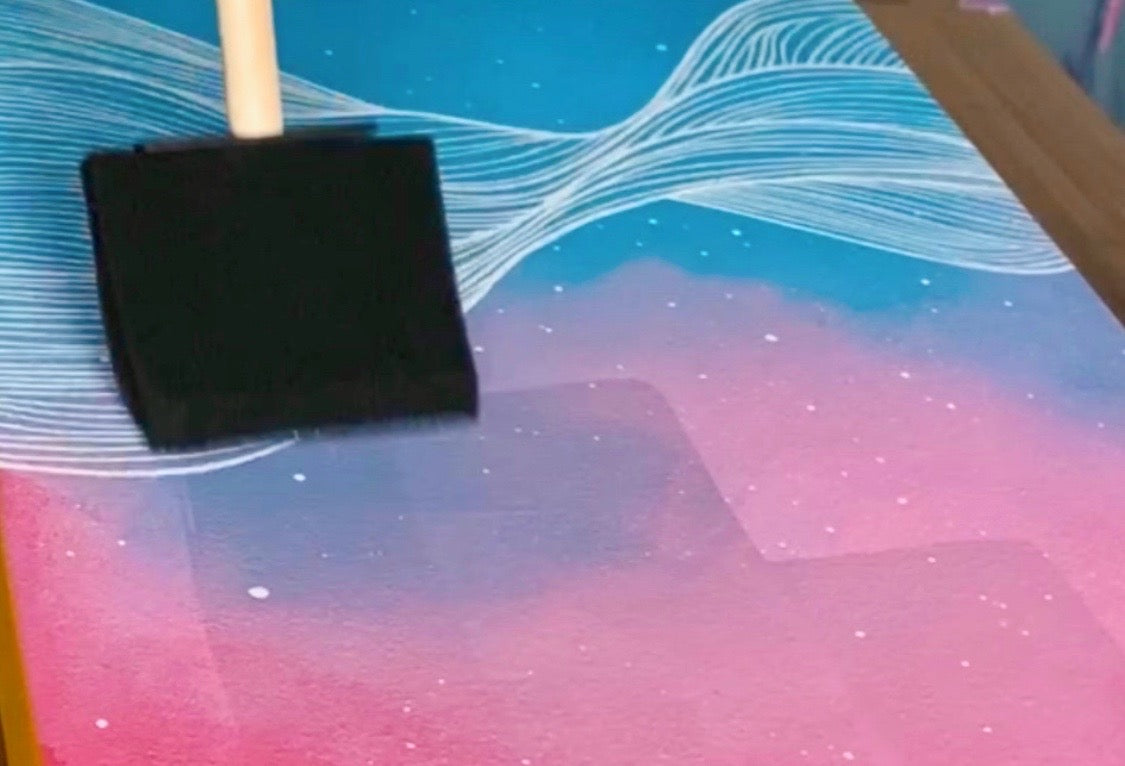
Here a couple of close ups to show you the line quality on canvas as well as on paper.


Ink
I wrote a detailed post about using White Ink for Line Work and you can find it here.
Compared to UniPosca markers, line quality is much more rich with ink, however if you never worked with ink and nib, it’s better to gain some confidence with Uniposca markers or Acrylic Pens before you dip the nib.
You'll find a lot of inks out there, but make sure you pick a good one, because it's really all about the ink.
I have used Daler Rowney FW Artists in the past and really liked it, and now switched to Liquitex Ink. No particular reason for the change if not availability near me, both brands are very good and I recommend them indistinctly.
Working with ink and nib will require more precision and attention, however I think there's a sort of regality in writing with ink, and in my opinion, lines do look better!
PROS
- Line quality is definitively superior than using a marker
- In the post I shared on How to Use Ink for Line Work you'll find my preferred nibs, however, if you've worked with certain nibs before, and you're already comfortable with those, there's no learning curve for you!
- Ink can be found in loads of different colours and you can also mix them up to create your own.
CONS
- If you never used ink and nib before, you'll need to do some tests before you start on your artwork.
- You have to dip the nib into your ink after few lines, otherwise the first lines will be more opaque than the others.
- Pay attention to how you work and where your hand moves so you don't mess up lines you've just drawn.
(For example, because I'm left handed I tend to work bottom-right to top-left so that my hand never covers the line.)
Here a couple of images to show you the ink-line quality on canvas as well as on paper.

Fineliner
This is the fineliner I'm talking about.

And you can see it in action here.
While I do love using Ink and UniPosca markers, this fineliner goes beyond anything else in terms of the line opacity. And that's because the fineliner uses acrylic paint (or gauge if that's what you paint with).
How does this fineliner work?


You pick your colour, open the fineliner and put your paint in it. Add a tiny bit of water and shake well.
You might need to adjust the proportion water/paint so that it flows when gently pressuring on the tube but it doesn't flow out.
The fineliner comes with a long standard tip (the yellow one on the right hand side of the box, in the picture below), and you can replace it with this set of tips. They are shorter (green one outside the box, for comparison) and easier to use, as well as providing different sizes for your line.

PROS
- Line quality is A-M-A-Z-I-N-G. And this should be enough :)
- You can use any colour and create new ones as well. As long as you have acrylic paint (or gauge) and water, then you're all set.
- Did I mention the line quality is great?
CONS
- You'll need to test it quite a lot, especially if you're working on a very textured canvas or a bumpy artwork.
- If you get the extra tips, make sure you take care and wash them as soon as you're done or the colour might dry up inside. Some of them are very small and would be difficult to clean them up once the colour is dry.
- Using the fineliner will show a bit more texture in the line, if you're planning to cover the lines up with a new artwork, then you know...
Here few images for you to review the quality!


Written by Elisa Capitanio
Artist & Designer
♥️ Making a home & colourful abstract paintings
✨ Art for real homes & lived lives
